

Hey there! As a supplier of laser cutting machines, I often get asked about the calibration steps for these high - tech devices. Calibration is super important as it ensures that your laser cutting machine works at its best, giving you accurate and clean cuts every time. Let's dive into the calibration steps together.
Step 1: Pre - calibration Checks
Before you start the actual calibration process, it's essential to do a few pre - checks. First, make sure the machine is clean. Dust and debris can interfere with the laser beam and the movement of the cutting head. Check all the mechanical parts, like the rails and belts. Look for any signs of wear and tear. If you notice any loose parts, tighten them up.
Also, check the power supply. A stable power source is crucial for the proper functioning of the laser cutting machine. Fluctuations in power can lead to inconsistent cuts. Ensure that the cooling system is working correctly. The laser generates a lot of heat, and the cooling system helps to keep the components at a safe temperature.
Step 2: Beam Alignment
The laser beam alignment is a critical part of the calibration process. A misaligned beam can cause uneven cuts and reduce the overall efficiency of the machine. To align the beam, you'll need some specialized tools. Most modern laser cutting machines come with built - in alignment features, but you may still need to do some manual adjustments.
First, turn on the laser at a low power setting. This allows you to see the path of the beam without causing any damage. Use a beam alignment target. Place it at different points along the cutting path. Adjust the mirrors and lenses to ensure that the beam hits the target accurately at all points. You may need to make small adjustments multiple times to get it just right.
Step 3: Focus Adjustment
Getting the focus of the laser beam right is key to achieving clean and precise cuts. The focus determines the size of the laser spot on the material being cut. If the focus is too high or too low, the cuts will be rough or incomplete.
To adjust the focus, you can use a focus gauge. Place the gauge on the material you'll be cutting. Move the cutting head up and down until the laser spot on the gauge is at its smallest. This indicates that the beam is in focus. Some machines have an automatic focus adjustment feature, which can save you a lot of time and effort.
Step 4: Cutting Speed and Power Calibration
The cutting speed and power settings need to be calibrated according to the type and thickness of the material you're cutting. Different materials require different combinations of speed and power to achieve the best results.
Start by testing on a scrap piece of the same material. Try different speed and power settings. Observe the quality of the cuts. If the cuts are too slow, it may cause excessive melting and charring. If the cuts are too fast, the material may not be fully cut through.
Keep a record of the settings that work best for each type of material. This will make it easier for you to set up the machine in the future. You can also refer to the machine's manual, which usually has some recommended settings for common materials.
Step 5: Software Calibration
Most laser cutting machines are controlled by software. The software needs to be calibrated to ensure that it accurately controls the movement of the cutting head and the operation of the laser.
Check the software settings for things like the coordinate system, cutting path, and laser power control. Make sure that the software is communicating correctly with the machine. You may need to update the software to the latest version to ensure compatibility and optimal performance.
Step 6: Repeat and Verify
After you've completed all the calibration steps, it's a good idea to repeat the process a few times. This helps to ensure that the calibration is stable and accurate. Make some test cuts on different areas of the material. Check the quality of the cuts, including the edges, corners, and overall smoothness.
If you notice any issues, go back and make the necessary adjustments. It may take a bit of time and patience, but getting the calibration right will pay off in the long run.
Our Laser Cutting Machines
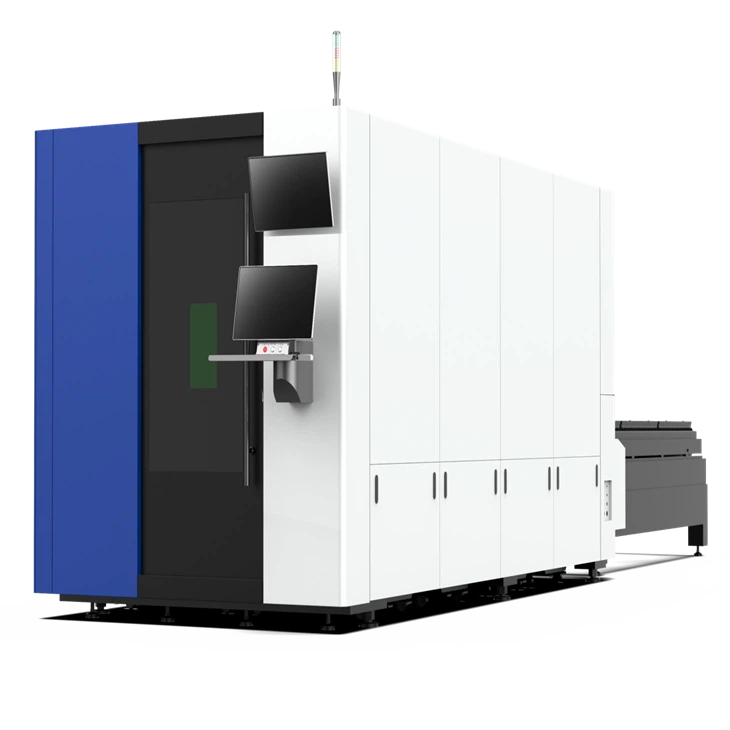
At our company, we offer a wide range of laser cutting machines to meet different needs. Whether you're looking for a Fully Automatic Laser Cutting Machine, an Exchange Platform Laser Cutting Machine, or a Laser Tube Cutting Machine, we've got you covered.
Our machines are designed with the latest technology and are easy to calibrate. We also provide comprehensive support to help you with the calibration process and any other issues you may encounter.

Contact Us for Purchase and Consultation
If you're interested in purchasing a laser cutting machine or have any questions about calibration or our products, don't hesitate to get in touch. We're here to help you make the right choice for your business. Whether you're a small workshop or a large manufacturing plant, we can offer you the perfect solution.
References
- Laser Cutting Machine User Manuals
- Industry Standards for Laser Cutting Calibration
- Technical Papers on Laser Beam Alignment and Focusing